Thursday, August 27, 2015

S'mores for Days

Hello, lovely readers!

I didn't mean to neglect my blog for so long!

Work hours have gotten longer.

I moved into my own apartment.


I got a kitten! (His name is Philip - he's kind of adorable when he's not being a demon).


And I could list a whole plethora of other excuses, but they would be just that. EXCUSES. And I need to stop using them as a reason to avoid blogging. Now, I make no promises for super frequent posting, but I'll try to be better about it. And I, hopefully, won't have to make another post like this for a long, long time.

(I've missed an entire summer's worth of baking and I'm highly disappointed in myself).


Anyway! Back to blogging - Summer makes me think of family, friends, camping (which I haven't done either), cooking over an open fire, and, above all things, S'MORES. (My priorities are great, huh)? I have an unnatural (maybe even unhealthy) obsession with s'mores. And anything s'mores flavored, really. I eat them far too often in their traditional form and I always have to try any s'mores related treat that I come across. My favorites so far have been s'mores bread pudding at Walker's (Click here to check them out) and Campfire Mochas at City Brew (And check them out too)!

I mean, I just love marshmallows in general. Even though they're pretty gross when you actually sit down and think about what they really are. Trust me, don't do it. At the end of the day, though, I think they're delicious. Both in solid(ish) AND liquid form. Give me the choice of a hot fudge sundae or a marshmallow sundae ... I'll probably choose marshmallow. With chocolate ice cream. And graham cracker crumbs ...

HEY, LOOK. S'mores, again.

See, I told you I have a problem.

Side note: I've even seriously thought about having s'mores supplies on hand at all times. In my house, anyway. That'd get way too messy in my car.

Leslie Knope is my hero.
So, for this particular baking adventure, I took my love of s'mores and tried to think of a way to turn it into a delicious pastry. I ended up going down the path of the scone! Now, I know that not everyone likes scones. Or, at least, most people aren't super big fans of them because they're typically on the drier side of the pastry world, and these are no exception, buuuuuut ... whatever, whatever, I do what I want! (With love, of course. Always with love). Besides, I always thought that was part of the appeal of a scone.

Scones? Why, yes, please! I do believe it's time to make some tea to go with it!


Or I'll grab some nice cold milk!


It all comes down to the season, really. Or, if you're anything like me, you drink whatever you want, whenever you want. It's almost 100 degrees outside? No big deal - I'll have a hot caramel macchiato, please.


Anywho, this wasn't my first s'mores project. A few years ago, I made s'mores cupcakes, complete with torched mini-marshmallows on top. (I'd love to try to make a better version of that recipe sometime soon, actually). And, just a few months ago, I made s'mores fudge ... at around 11 o'clock at night. I'm pretty sure my roommates thought I went off the deep end ... or sank even deeper. It was worth it, though! It was so good!

(And now I'm wondering if I remembered to save the recipe. Ruh roh, Raggy...)


Now, on with the baking!

S'mores Scones Recipe:
1 3/4 cup flour
1 1/4 cup graham cracker crumbs
4 tsp baking powder
1/3 cup sugar
3/4 tsp salt
4 tbsp butter
2 tbsp shortening
2 large eggs, beaten
3/4 cup half and half
Chocolate chunks
Mini-marshmallows

Directions:

1) Preheat oven to 375 degrees.

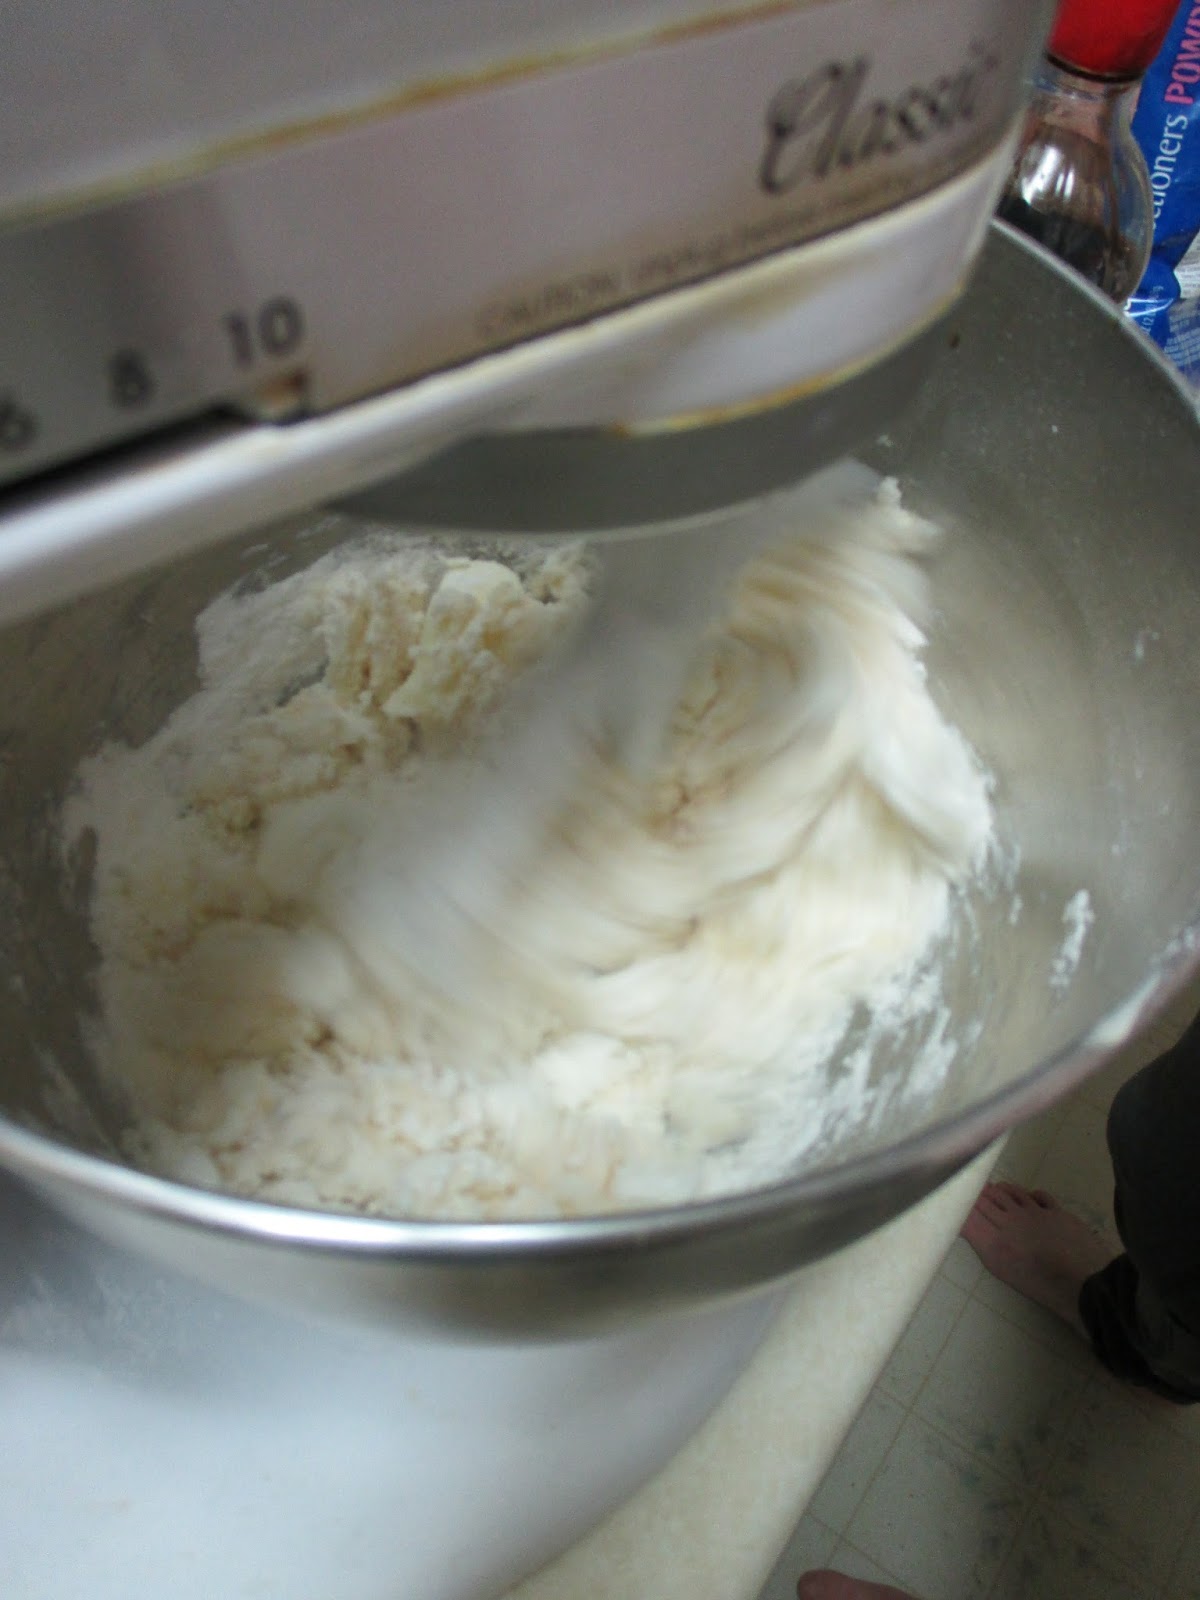
2) Combine flour, graham cracker crumbs, baking powder, salt, and sugar in a large bowl and mix well.

This counts as art work, right?
       - Side note 1: You can either buy pre-made crumbs or crush your own. I went the easy route and bought the pre-made ones.
       - Side note 2: You can sift all of your ingredients into your mixing bowl if you feel so inclined. I was feeling fancy when I made these, so I went ahead and used a sifter. It's pretty fun.

Sift it. Sift it good!
3) Cut in COLD butter and shortening. (Meaning, cut your butter and shortening into small pieces and add them to the flour mixture. Lightly coat the pieces first and then start breaking the pieces up. I use my hands for this process. Other people like to use a pastry blender or knives). Your mixture will get nice and crumby!

I forgot to get a picture of what it looks like AFTER you cut in the butter.
Oops.
4) In a separate bowl, combine the cream and eggs.

Itty bitty fork for an itty bitty job.
5) Add the cream mixture to the dry ingredients and combine until a dough is formed.
        - Side note: If the dough is too wet, add more flour.

6) Add chocolate chunks and mini-marshmallows. Mix until just combined.
        - Side note: I didn't put measurements for these. I say add as little or as much as you so desire! It all comes down to personal taste, after all! :-)

7) On a floured surface, roll out the dough to your desired thickness. (I rolled mine out to about 3/4 of an inch).

Needs more chunks.
8) Cut out biscuit sized rounds.

I didn't use parchment paper. Learn from my mistakes.
9) Cover a baking sheet with parchment paper. (Trust me, you'll want it to catch any marshmallow goo that leaks out of the scones)! Place your scones an inch or so apart from one another.

10) Bake the scones for 15 minutes.

11) Take the scones out of the oven and let them sit for a few minutes on the baking sheet before transferring them to a wire rack to cool completely.

12) OR! Go ahead and eat them while they're nice and warm! The marshmallows and chocolate will be nice and gooey!

Look at it's cute lil dimple! Omnomnom.
And there you have it! Simple, delicious scones! The next time I make them, I'm going to put even more chocolate and marshmallows. Or I may even cut them in half before I serve them and put a layer of marshmallow fluff on the inside to really ramp up the s'mores factor.

Mmmmm. That sounds so good ...

Give these scones a try, if you so desire! Or let me know what other s'mores treats you've made in the past or would like to see me make in the future!

As always, thank you for reading!! Please leave any comments or concerns below.

AND

Bake on with your bad selves!

Love,
Jackie

Friday, August 21, 2015

I'll Be Back

I promise I haven't forgotten about my blog! And about you guys!!

Life got in the way.

And lack of a proper working oven perpetuated my absence.

I love you all and I promise I'll be back very soon!


Bake on with your bad selves,

Jackie

Friday, June 12, 2015

Earl Grey (wait for it...)

Cupcakes.

That's right, cupcakes. They're glorious creations that just so happened to grace my palette recently. And I actually had a reason to make them! Other than, ya know, baking just to bake. My roommate, Jamie, had been in Italy for 3 weeks, so I decided to welcome her back to the States with these morsels of deliciousness. Plus, she decided to start the Paleo diet once she got back, so I thought I'd make her one last baked good before her diet adventure began. Because I'm evil nice.

Also, this is the first time I had a guest to accompany me on my baking adventure! My friend, Bobbi, graduated from grad school (she's a bad ass like that) and got back home to Montana just in time to help! And by help, I mean she supervised. And by she supervised, I mean she took pictures and taste tested everything. EVERYTHING. Which I appreciate because she helped make the lemon frosting taste amazing.

And because she took SO MANY pictures, this post is going to be a little different from my previous ones. I'm going to post the recipes for the cupcakes and frosting right away and then post our cupcake picture saga.

(Brace yourselves. The pictures are coming).

Earl Grey Cupcake Recipe
- 1 1/4 cups flour
- 1/2 tsp baking soda
- 1/2 tsp baking powder
- 1/2 tsp salt
- 1/2 tsp ground cinnamon
- 1/4 tsp ground ginger
- 1/4 tsp allspice
- 1 stick butter, melted
- 1/2 cup sugar
- 1/2 cup brown sugar
- 1/2 cup sour cream
- 2 eggs
- 1 tsp vanilla extract
- 1/4 cup loose Earl Grey tea

Lemon Buttercream Recipe
- 1 1/2 sticks butter, softened
- 3 cups confectioners' sugar
- 2 tsp vanilla extract
- 2 tbsp milk
- 1 lemon, juice and zest
- pinch of salt

1) Preheat your oven to 350 degrees.
2) Line a muffin tin with paper liners. The cuter, the better. It makes them look extra fancy.
3) In a bowl, add the loose tea to the melted butter. Let the tea steep in the butter for at least 5 minutes. (I'd probably let the tea steep much longer the next time I make these. It'd really amp up the tea flavor in the end product)!
4) While the tea is steeping, put the flour, baking powder and soda, salt, cinnamon, ginger, and allspice in a bowl. Whisk it together!
5) Then add the remaining ingredients to your flour mixture, including the beautiful tea-infused butter*. Mix it together until just combined.
             *Side note: You can strain the tea leaves out of your butter if you really want to. I went ahead and left mine in. They didn't add a weird texture to the cupcakes at all and made them really pretty to look at. It was almost like poppy seeds! But better.
6) Divide the batter among the liners and bake for 18 to 20 minutes. The tops should spring back when you poke them. (Gently, mind you. Don't want to put a hole in them).
7) Take the cupcakes out of the oven and let them cool in the tin for 5 minutes before transferring them to a wire rack to cool completely.

While those are cooling, you can whip up some delicious frosting!

1) Add the butter, confectioners' sugar, and salt to a bowl and mix until combined.
2) Add the vanilla and lemon zest and beat the frosting until it's creamy.
3) Add the milk and lemon juice* and keep beating until it's nice and fluffy.
                *Side note: Add as little or as much lemon juice as you want. It all depends on how lemony you want the frosting to taste! Bobbi loves lemons (YEAH, LEMONS), so we just kept adding more and more. But, be aware that you'll have to add more sugar as well! Otherwise, the frosting becomes a goopy mess and, while yummy, it's not the best thing to put on top of these cupcakes.

Then all you have to do is frost those cupcakes like there's no tomorrow! Make sure they're cool enough, though. You don't want your frosting to melt off. Or maybe you do! I probably don't know you. I don't know your intentions with these cupcakes. (They better be honorable, though)!

And there you have it! Super wonderful tea in cupcake form. Life doesn't get much better.

Except it does! Because pictures.

And here...we...go...
Please note the mustache tattoo.
It still tickles me pink every time I see it.
...Shut up. I'm punny.

IT SMELLS SO GOOD. Oh, lord.

This is my "Um, rude. I'm trying to steep this tea in peace," face.

Look at me.
Pretending to be a baker or something with that towel on my shoulder.

Bobbi wanted to be artistic.
I think it worked.

She's kind of ridiculous. And I love her.

Probably the prettiest picture of me.
EVER.

I should probably be on the Price is Right.

It looked really gross!
But, oh man, it tasted so good.

Million dollar action shot here!

I told you she taste tested everything.

Rise, my minions! RIIIIIIIIISE.

She caught me red handed.
Doing what? I dunno. Baking or something?

Insert something witty here.

Frosting is the best.

Look at those cupcakes!
And also our faces.
But mostly the cupcakes.

Hey, look! Bobbi helped make the frosting!
Proud of her.

And then this happened.
Goodbye, lemon. We barely knew ye.

MMM, MMM, GOOD.

Back to tasting everything.
Side note: Hot damn, I've got a nice ass!

Staring contest with the cupcakes.
I lost.

"Well, it looks good..."

"Ehr mehr gerd, Bobbi. It's the best."

I obviously had to shove the rest of it into my mouth just to make sure, though.

It's frosting time!

And here we find the baker in her natural element.
Side note: I love this picture, hence all the filters.
You're welcome.

I look slightly crazy.
I probably am.
Shh, don't tell anyone.

THIS IS SERIOUS BUSINESS, GUYS.

Bobbi says this is what my friends look like from my perspective.
#AllMyFriendsAreShort

Just keep frosting ... just keep frosting ... 

I wish smell-o-vision was a thing.
You need to smell this for yourself!

Gotta line those bad boys up all nice and purty.

This was my David Tennant cupcake.

Behold his beautifully coiffed frosting hair!

Behold a super awkward way to hold him!

My "I see what you did there" face.

What'd you say about my mama?!?!

Paparazzi can get really annoying.
And I apparently threaten people with butter knives.
Who knew?!

The cupcakes were still a little warm. (Because I'm impatient).
But! The slightly melted frosting made an adorable hat.

YEAH, CUPCAKES, YEAH.

An almost normal picture!

Just kidding. Normal pictures aren't a thing.
The end?!

DUN DUN DUN.

...


Yeah, I won't add all of the pictures that she took. I think this is about a third of them? She was camera happy. And I love her for it! You got some gems, Bobbi, you got some gems. 

(You're the best and thanks so much for all of your help)!

Anyway, if you made it through this post, thanks! And if you didn't and skipped to the end, thanks too! Also, if you love Earl Grey tea, you should definitely give these cupcakes a try. They're easy and oh so nommy. If you make these yourself, or have enjoyed what you've read, or have ideas for a future blog post, please leave a comment below! They're very welcome and very much appreciated!

And, as always, bake on with your bad selves!

- Jackie

PS,
I used a lot of ifs at the end of this post. 

I must be 

....

An iffy person.  


SHUT UP, YOU LAUGHED.