Showing posts with label sweets. Show all posts

Saturday, November 28, 2015

Extra post! Countdown to Christmas

Now that I'm living on my own, I thought I'd take the opportunity to start my own traditions! I figured I'd start with Christmas because:

A) I don't have any decorations or anything really and need to figure out what to do anyway
and
B) Christmas is just magical, period, so why not?!

One of my favorite parts of Christmas is the Advent Calendar!

Wonder what we'll find inside our calendars, Jack!
My grandparents would always send us grand-kids our very own chocolate-filled, cardboard calendars and it always made me feel like the bee's knees! (Yes, I used that phrase. Deal with it). They still send them, actually, and I still feel awful special, but I couldn't pass up the chance to make my own! (I'm apparently a smidge greedy. Oops). And by make, I mean buy one at Target and fill it with homemade goodies and cute little trinkets! So, that's why I'm here! To share some recipes with you and give you some ideas and inspiration for you own Advent Calendars!

Jack's excited. Get on his level!

Recipe #1: Coconut Macaroons

I love anything coconut and these seemed like the perfect addition to an Advent Calendar. The mounds of coconut end up looking like lovely piles of snow. Perfect for the cold, winter season.

Ingredients:
14 oz flaked, sweetened coconut
14 oz sweetened condensed milk
1/8 tsp salt
1 tsp vanilla
4 large egg whites, room temperature

Directions:
1) Preheat the oven to 325 degrees.

2) In a large bowl, mix the coconut, sweetened condensed milk, and vanilla together.

Look at this gorgeous shot! I love it too much.
Messy, but worth it!
3) Using a mixer, whip the egg whites and salt together on high until medium peaks form.

Whip it!!!
4) Carefully fold in the egg whites into the coconut mixture until just combined.

It tastes better than it looks, promise.
5) On a baking sheet lined with parchment paper, place 1 - 2 tbsp mounds of the coconut mixture a few inches apart. Bake them for 25 to 30 minutes, or until golden brown. Baking time will vary based on the size of your macaroons. Just keep an eye on them.

My first batch was pretty big!
6) Let the macaroons cool on the pan for a few minutes before transferring them to a cooling rack.

They looked so good!!!
7) And if you so desire, you can melt some chocolate to drizzle on top once they're cool! I added some mini-m&m's to mine as well! I thought it made them look extra festive.

See, instantly more festive.

Recipe #2: Paradise Bark

Another treat that reminds me of the winter landscape, this bark packs a big punch of flavor! It's inspired by tropical flavors, hence the name, and it's a refreshing twist to all of the heavier tasting barks you find this time of year!

Ingredients:
6 oz dried pineapple
2 oz macadamia nuts
7 oz flaked, sweetened coconut
24 oz vanilla almond bark

Directions:
1) Chop up the pineapple and macadamia nuts into smaller chunks.

Chop Chop Chop
Just keep chopping. Just keep chopping. Just keep chopping, chopping, chopping.
2) Mix together the pineapple, nuts, and coconut.

Honestly, I could just eat a bowl of this.
3) Melt the almond bark according to the package directions.

4) Add 3/4 of the coconut mixture to the almond bark and mix until well coated.

5) Pour the mixture onto a baking sheet lined with parchment paper, smoothing down any big lumps.

It's a snow covered field! If you squint your eyes a little bit. ;-D
6) Sprinkle the remaining coconut mixture onto the bark, pressing it in slightly to make it stick.

I'll take the whole slab, please!
7) Allow the bark to set for a few hours before breaking it into bite size pieces! (You can always stick it in the fridge to speed up the process).

Don't go breaking my bark...

Recipe #3: Peppermint Fudge

A staple around the holidays, this fudge reminds me of delicious peppermint hot chocolate. It's nice and creamy, but the bits of candy cane add a needed bit of crunch. Watch out, you may end up eating all of it before you've tucked it away into your calendar!

Ingredients:
14 oz sweetened condensed milk
2 tbsp butter
1/4 tsp salt
1 cup mini-marshmallows
12 oz semi-sweet chocolate
1/2 tsp vanilla
1/4 tsp mint extract
Candy canes, crushed into small pieces

Directions:
1) In a medium saucepan, bring the sweetened condensed milk, butter, and salt to a boil. Turn the heat down low enough to let the mixture simmer for a few minutes, stirring constantly so that the mixture doesn't burn.

2) Remove the mixture from heat and add the marshmallows first. Mix until it's smooth.

3) Add the rest of the ingredients and mix until smooth. Again.

4) In a pan of your choice (8x8, loaf pan, etc), lined with aluminum foil and coated with non-stick spray, pour in the fudge mixture. Smooth out the top and sprinkle the crushed candy cane pieces over it, being sure to push them in slightly so that they stick!

I used a loaf pan, myself.
5) Place the fudge in the fridge and allow it to set for at least 2 hours before taking it out and cutting it into bite size pieces.

HA. Like that's a serving size. I'm funny.
And there you have it! Just a few ideas to get the ball rolling on your own Advent Calendars. What's YOUR favorite treat to find in a calendar? Do you prefer to make them yourself or buy pre-made candies? Let me know in the comments below!

SANTAAAAAAA. CAN'T WAIT FOR CHRISTMAS.
And, as always, bake on with your bad selves!

Love,
Jackie

Friday, September 18, 2015

S'more s'mores, please!

Call it lazy...

This time around, anyway.
call it thrifty...
Who knew thrifting could be so fabulous?
call it creative...
Don't worry. I'm confused too, Ron.
Frankly, call it whatever you want... I call it a good end to summer with, you guessed it, another s'mores creation! This time it's in pie form. I went the easy route and made a pie crust out of leftover graham cracker crumbs (because, oh my word, I had so many left over from the scone adventure), but it's still a pie none the less!

Or I could get Ned to make me a pie. Yes, that.
[Side note: I've yet to make a traditional pie with, ya know, a delicious, flaky pie crust and sweet, fruity filling, but it's on my list. And I'll hopefully have one made before Thanksgiving, so keep an eye out].

Anyway, I couldn't pass up the opportunity to make another chocolate and marshmallow creation. It's just such a good combination.

I can't even, guys. I can't even.

...

Ahem.

...

I mean, s'mores are so delicious that they deserved a second post, right?

Right. Glad we're on the same page.

Thinking 'bout them s'mores (aka Gratuitous Selfie)
Besides, summer is coming to an end. It needs a proper send off and what are s'mores if not proper?

So, here's one last ode to bonfires, to long summer days and warm summer nights, to memories made with family and friends, to recapturing our childhoods, if only for a fleeting moment.

Let's welcome fall with open arms after savoring one last bite of summer.

Goodbye, summer sun!
Leaves are already falling around here.
I'll miss you summer tea time!
But I'm ready for cozying up for fall.
(I know, that's a lot for a pie to live up to, but I think it does a pretty good job. Give it a try and find out for yourself).

S'mores Fudge Pie Recipe

Graham Cracker Crust:
2 cups graham cracker crumbs
1/4 cup sugar
6 tbsp melted butter

1) Preheat oven to 375 degrees.

2) Coat pie tin with cooking spray or shortening. I used shortening this time around. It was left over from the scones.

I should be a hand model.
3) In a bowl, combine the crumbs, sugar, and butter.

It says hi, I promise.
4) Press the crust mixture into the pie tin.

Spoiler alert. This was after I baked it.
5) Bake the crust for roughly 7 minutes, or until slightly browned.

6) Let the crust cool while you're making the pie filling.

S'mores Fudge Pie Filling:
1/4 cup flour
1/2 cup sugar
2/3 cup cocoa powder
1/4 tsp salt
6 to 8 oz semi-sweet chocolate (up to your tastes, really)
1 cup half and half
1/4 cup butter
1 jar (7 oz) marshmallow fluff
2 eggs
2 egg yolks

1) In a bowl, whisk together flour, sugar, cocoa powder, and salt.

Welcome to Cocoa Mountain.
2) In a sauce pan over medium heat, mix together half and half, butter, chocolate, and half of the marshmallow fluff. Stir until the mixture is smooth.

I probably would've just eaten this, to be honest. 
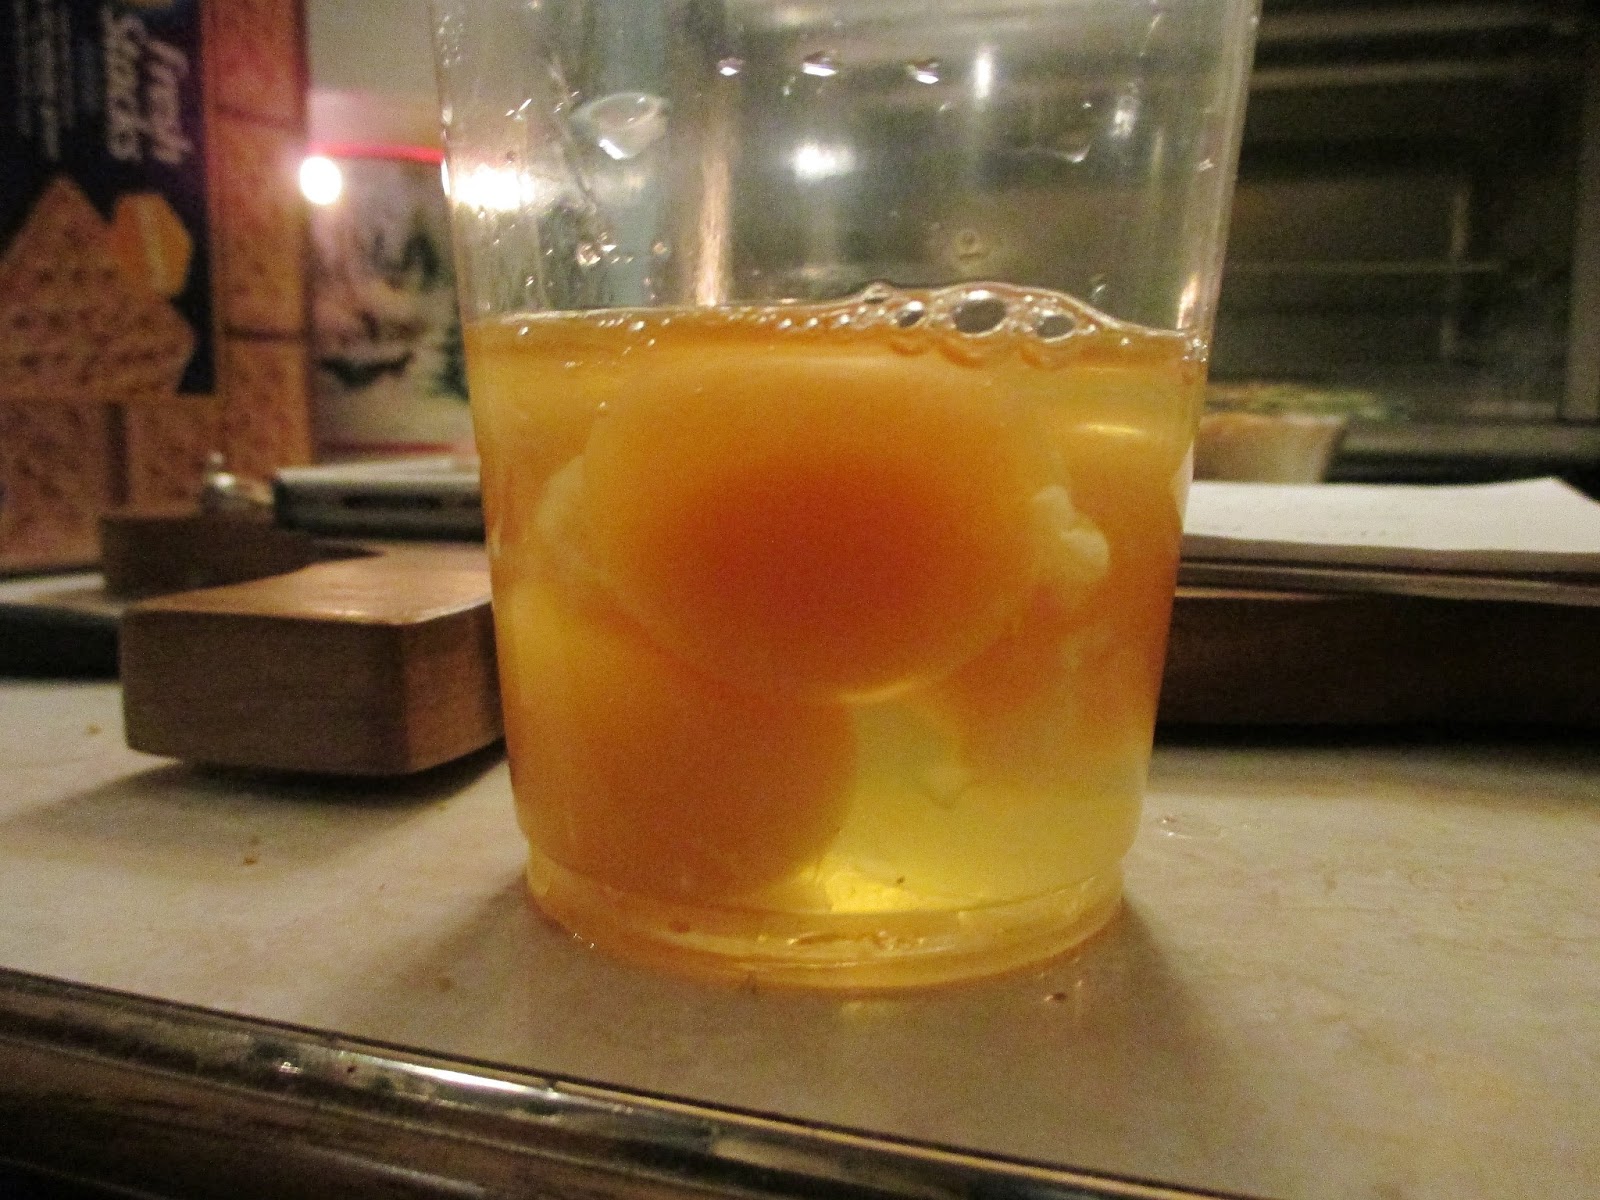
       Note: You'll want to let the mixture cool before step 3. You don't want scrambled eggs in your pie. Unless you do. I'm not here to judge.

3) Add the eggs, egg yolks, and dry ingredients to the chocolate sauce. Stir together until well combined.

They looked alien-like. Felt the need to share.
4) Transfer the filling into the pie crust.

Ooh, shiny.
5) Bake at 375 degrees for 45 to 50 minutes. The pie is done when the center is set and the edges start to crack.

6) Let the pie cool for 20 to 30 minutes.

Now, this is where I took the pie to super s'mores land.

7) Heat up the rest of the marshmallow fluff in the microwave (roughly 30 to 40 seconds, just keep an eye on it).

8) Spread the fluff over the top of the pie.

9) Add mini marshmallows on top of that if you so desire! I did. Because marshmallows.

10) Put the pie under the broiler until the marshmallows brown slightly.

Personally, I'd leave this under the broiler longer,
for some nice burnt marshmallows,
but not everyone likes that.
11) Let it cool for a few minutes after that and serve!

It's super delicious and super chocolately. If you're not careful, the amount of chocolate in this pie could probably kill.

Kidding.

Maybe?

[Side note: I let part of the pie sit around, covered, for a couple of days. The flavors really melded together and the pie was even more delicious! I mean, you can't lose either way, but if you have the time and the patience, let it sit. Let the flavors have a chance to really dance together. It's worth it, I promise].

Mmm. Pie. Yum.
So, if you're looking for something to help wind down summer and welcome fall, give this fudge pie a try.

Shia commandeth so.
Thanks, as always, for reading! Please leave any suggestions or comments down below.

Bake on with your bad selves!

- Jackie