 |
| Garth-ception |
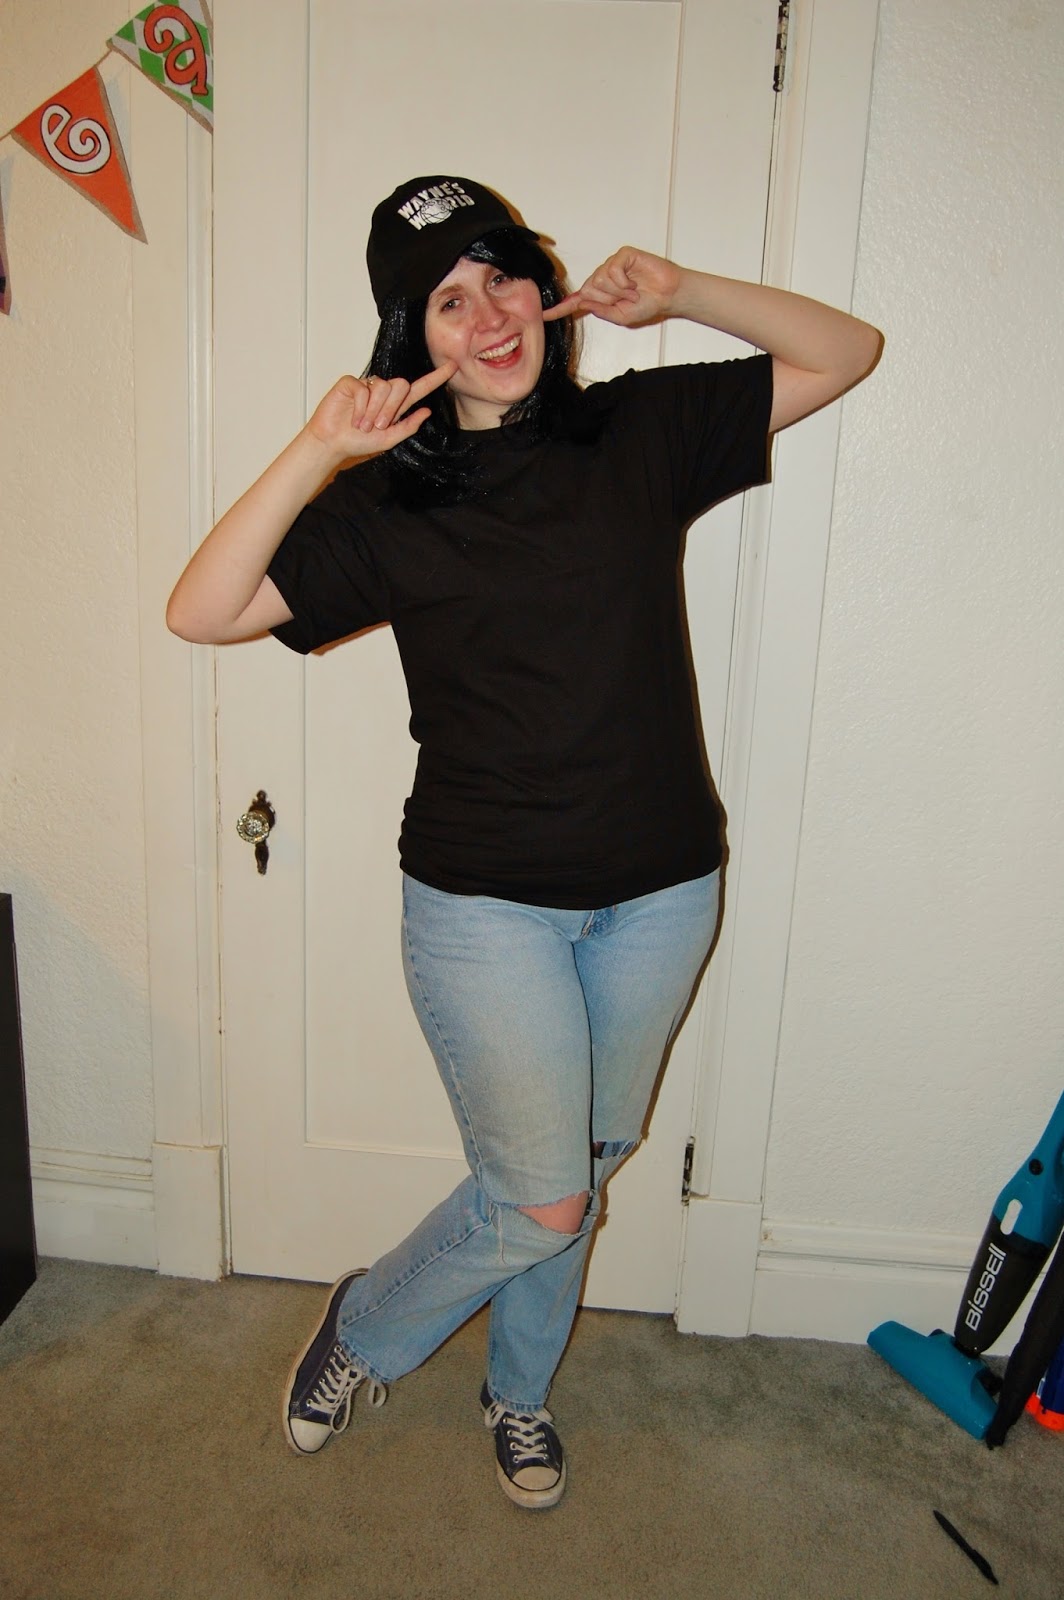 |
| Most comfortable costume ever. |
 |
| Aggressive headbanging is always acceptable. |
(*Little backstory for the costumes: My sister, Quinn, and I love
Wayne’s World so much! It’s a great movie to put on anytime. And it's hard not to quote along. So, since we’re such big fans, we got sister tattoos for Quinn's 18th
birthday based around some very famous lines.
We’re not dweebs, I swear.*)
 |
| This one's mine. |
 |
| This one's Quinn's. (Complete with Dean Winchester smoldering in the background). |
Not only are these cake balls pleasing to the eye (herp-a-derp), they’re delicious and pretty simple to put
together! Because you never know when you need to make your friends and family
some treats the day before (or even the day of!) a party or get together.
 |
| Don't panic like Wayne. You've got this! |
There are a couple ways to go about making these eyes:
1) You can be master of your kitchen and make the cake
and frosting from scratch.
2) You can make things super simple and buy a
pre-made cake and just mash it up.
3) OR you can meet somewhere in the middle, like I
did, and make a box cake and use canned frosting.
I mean, you want to save your time and energy to make these
eyeballs look disgustingly glorious, right? Right.
So, this is what you’ll need for this project!
- 1 9x13 cake (Flavor of your choice! We went with just a white cake).
- 1 can of frosting (We opted for vanilla to keep the color inside consistent).
- Candy melts (Varying colors).
- Gel food coloring (For whatever color candy melt you can’t find)!
- Chocolate chips (Use these for the pupils! You’re bound to have some in your kitchen cupboards somewhere if you bake as much as I do).
- Microwave safe bowl(s)
- Parchment paper
- Toothpicks
- Spoons
- And your imagination! Your eyeballs can be from humans, vampires, swamp monsters ... you name it! Let your mind run wild and come up with something eye-inspiring!
(Optional items: Piping bag and piping tips. Depends on how
detailed you want to get)!
Alright! Once you’ve baked your cake according to the
directions on the box, you’ll want to let it cool for awhile. You can let it
cool overnight or stick it in the fridge or freezer to expedite the process.
Once your cake is sufficiently cooled, crumble it up into a
large bowl. There will be crumbs everywhere!
 |
| Mine hung out in a bag for a few days. |
 |
| Try not to lick your fingers, though. |
After that, add your can of frosting to the crumbs and mix
it up! I ended up using my hands for this part. No use in getting a spoon dirty
when my hands work just as well, if not better, at getting all of the cake coated
in frosting! Plus, it’s just really fun. But, watch out, this part is super
messy.
 |
| Who wants a handshake? |
Once you’ve gotten everything worked together, you’ll want
to cover your mixture and stick it in the fridge for at least half an hour to
let the frosting get firm again.
Then it’s time to form all of your eyeballs! Make them as
big or as small as you want. Ours were about 1.5(ish) tablespoons worth of cake mix per eye. Roll ‘em up and place them on a plate. Keep going until you run
out! (Or save a little to munch on. I won’t judge).
 |
| This is when you say, "Oooh, aaah" |
When you’ve rolled together as many eyeballs as you care to
make, get those little guys in the freezer. They’ll want to chill out for at
least an hour before you try dipping them in melted candy coating.
 |
| These weren't even all of them! |
Speaking of! That’s the next step. When it’s time to start
decorating, figure out which color candy melts you want to use and start
melting them! Just use the instructions that come on the packet.
 |
| Garth approved. |
If you want to make human eyeballs, like we did, you’ll need
white and blue (or green or brown) candy melts. We melted white candy melts to initially cover our
cake balls. Once all of them are covered, stick them in the freezer to hurry up
the hardening process.
Then we melted some blue candy melts to create the iris
of the eye. I went all fancy and used a piping bag and tip to create that
design. You can always go the easy route (like my sister did later) and use
your mixing spoon to drizzle out the design. It works just as well! And
eliminates extra cleanup. Before the iris hardens, stick a chocolate chip into it to
make a pupil! Your eye can look straight at you or in some other crazy
direction. It’s up to you and your creativity.
To make our eyes even creepier, I melted some more white candy
coating, added red gel food coloring, and then used a toothpick to create some
lovely bloodshot eyes.
 |
| I apparently like using my hands a lot. |
 |
| All eyes are on you at this point. |
 |
| They've probably been staring at the kitchen light for too long. |
These poor souls clearly need some red eye relief. And
they’ll find it...
In my mouth.
I’ll put them out of their misery. I’m just a kind-hearted person like that.
And there you have it! Scrumptious, ghoulish delights, sure
to be a crowd pleaser!
In my mouth.
I’ll put them out of their misery. I’m just a kind-hearted person like that.
 |
| Quit it, guys. You're making me blush. I'm not that amazing. |
 |
| Never thought an eyeball would make me hungry. |
(Psst, if you really want to kick up the ick factor with
these eyeballs, pipe some red jelly [strawberry, raspberry, etc] into the center
of your cake balls before you coat them in candy melts. When someone takes a
bite out of one, they’ll get a yummy, yet slightly disgusting surprise)!
 |
| How great is that?! I love it. haha |
With these steps, the eyeball decoration possibilities are
endless!
You could make septic eyes like Quinn made in honor of one
of our favorite Youtubers, Jacksepticeye!


Or you could make yellow werewolf eyes that are sure to make some people think twice before taking a bite.
 |
| Just like this gif. |


Or you could make yellow werewolf eyes that are sure to make some people think twice before taking a bite.
And the flavor combinations are endless too! Why not make
eyes with chocolate cake, caramel frosting, and some marshmallow fluff in the
middle? Or red velvet cake with cream cheese frosting? Or strawberry cake with
champagne frosting?
Or or or … I’ll leave it there. I’m making myself drool.

Or or or … I’ll leave it there. I’m making myself drool.

These instructions are here for you to really have some fun!
So have at it, my bewitching readers! If you make any eyeballs, or simply have
any questions or comments, please leave them in the comment section below! And be sure to share this post with your family and friends if you like what you see!
I hope you all have a safe and spooktacular Halloween. Don’t be afraid to embrace your weird side and have some fun on this mischievous holiday.
And, as always, bake on with your bad selves!
 |
| Or foxy selves, as it were. |
JackieLantern
No comments:
Post a Comment