Sunday, October 25, 2015

This is Halloween

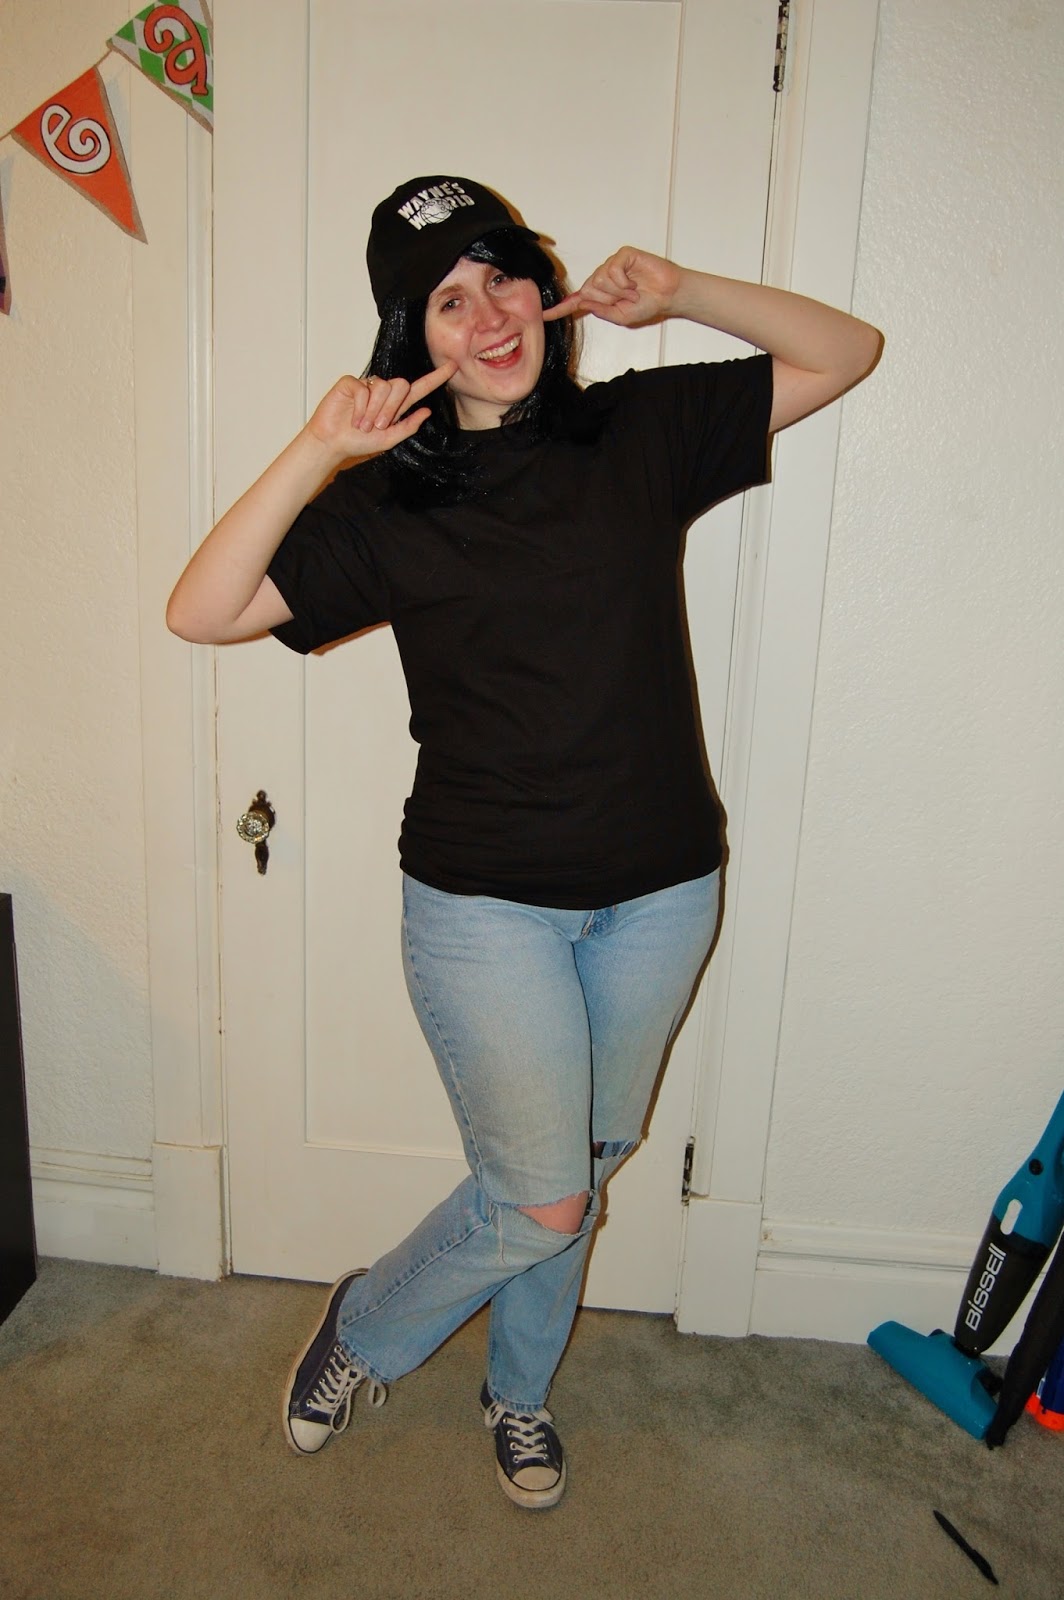
Party on, Garth!

Garth-ception
Party on, Wayne!

Most comfortable costume ever.
And party on, we did!

Aggressive headbanging is always acceptable.
In honor of Halloween, my favorite holiday by far, my sister and I donned our costumes* and made some delicious cake balls … er, cake eyeballs.

(*Little backstory for the costumes: My sister, Quinn, and I love Wayne’s World so much! It’s a great movie to put on anytime. And it's hard not to quote along. So, since we’re such big fans, we got sister tattoos for Quinn's 18th birthday based around some very famous lines.

This one's mine.
This one's Quinn's.
(Complete with Dean Winchester smoldering in the background).
We’re not dweebs, I swear.*)

Not only are these cake balls pleasing to the eye (herp-a-derp), they’re delicious and pretty simple to put together! Because you never know when you need to make your friends and family some treats the day before (or even the day of!) a party or get together.

Don't panic like Wayne. You've got this!
There are a couple ways to go about making these eyes:

1) You can be master of your kitchen and make the cake and frosting from scratch.
2) You can make things super simple and buy a pre-made cake and just mash it up.
3) OR you can meet somewhere in the middle, like I did, and make a box cake and use canned frosting.

I mean, you want to save your time and energy to make these eyeballs look disgustingly glorious, right? Right.

So, this is what you’ll need for this project!

- 1 9x13 cake (Flavor of your choice! We went with just a white cake).
- 1 can of frosting (We opted for vanilla to keep the color inside consistent).
-  Candy melts (Varying colors).
- Gel food coloring (For whatever color candy melt you can’t find)!
-  Chocolate chips (Use these for the pupils! You’re bound to have some in your kitchen cupboards somewhere if you bake as much as I do).
-  Microwave safe bowl(s)
- Parchment paper
- Toothpicks
- Spoons
- And your imagination! Your eyeballs can be from humans, vampires, swamp monsters ... you name it! Let your mind run wild and come up with something eye-inspiring!

(Optional items: Piping bag and piping tips. Depends on how detailed you want to get)!

Alright! Once you’ve baked your cake according to the directions on the box, you’ll want to let it cool for awhile. You can let it cool overnight or stick it in the fridge or freezer to expedite the process.

Mine hung out in a bag for a few days.
Once your cake is sufficiently cooled, crumble it up into a large bowl. There will be crumbs everywhere!

Try not to lick your fingers, though.
After that, add your can of frosting to the crumbs and mix it up! I ended up using my hands for this part. No use in getting a spoon dirty when my hands work just as well, if not better, at getting all of the cake coated in frosting! Plus, it’s just really fun. But, watch out, this part is super messy.

Who wants a handshake?
Once you’ve gotten everything worked together, you’ll want to cover your mixture and stick it in the fridge for at least half an hour to let the frosting get firm again.

Then it’s time to form all of your eyeballs! Make them as big or as small as you want. Ours were about 1.5(ish) tablespoons worth of cake mix per eye. Roll ‘em up and place them on a plate. Keep going until you run out! (Or save a little to munch on. I won’t judge).

This is when you say, "Oooh, aaah"
When you’ve rolled together as many eyeballs as you care to make, get those little guys in the freezer. They’ll want to chill out for at least an hour before you try dipping them in melted candy coating.

These weren't even all of them!
Speaking of! That’s the next step. When it’s time to start decorating, figure out which color candy melts you want to use and start melting them! Just use the instructions that come on the packet.

Garth approved.
If you want to make human eyeballs, like we did, you’ll need white and blue (or green or brown) candy melts. We melted white candy melts to initially cover our cake balls. Once all of them are covered, stick them in the freezer to hurry up the hardening process.

I apparently like using my hands a lot.
Then we melted some blue candy melts to create the iris of the eye. I went all fancy and used a piping bag and tip to create that design. You can always go the easy route (like my sister did later) and use your mixing spoon to drizzle out the design. It works just as well! And eliminates extra cleanup. Before the iris hardens, stick a chocolate chip into it to make a pupil! Your eye can look straight at you or in some other crazy direction. It’s up to you and your creativity.

All eyes are on you at this point.
To make our eyes even creepier, I melted some more white candy coating, added red gel food coloring, and then used a toothpick to create some lovely bloodshot eyes.

They've probably been staring at the kitchen light for too long.
These poor souls clearly need some red eye relief. And they’ll find it...

In my mouth.

I’ll put them out of their misery. I’m just a kind-hearted person like that.

Quit it, guys. You're making me blush. I'm not that amazing.
And there you have it! Scrumptious, ghoulish delights, sure to be a crowd pleaser!

Never thought an eyeball would make me hungry.
(Psst, if you really want to kick up the ick factor with these eyeballs, pipe some red jelly [strawberry, raspberry, etc] into the center of your cake balls before you coat them in candy melts. When someone takes a bite out of one, they’ll get a yummy, yet slightly disgusting surprise)!

How great is that?! I love it. haha
With these steps, the eyeball decoration possibilities are endless! 

Just like this gif.
You could make septic eyes like Quinn made in honor of one of our favorite Youtubers, Jacksepticeye!


Or you could make yellow werewolf eyes that are sure to make some people think twice before taking a bite.

And the flavor combinations are endless too! Why not make eyes with chocolate cake, caramel frosting, and some marshmallow fluff in the middle? Or red velvet cake with cream cheese frosting? Or strawberry cake with champagne frosting?

Or or or … I’ll leave it there. I’m making myself drool.


These instructions are here for you to really have some fun! So have at it, my bewitching readers! If you make any eyeballs, or simply have any questions or comments, please leave them in the comment section below! And be sure to share this post with your family and friends if you like what you see! 

I hope you all have a safe and spooktacular Halloween. Don’t be afraid to embrace your weird side and have some fun on this mischievous holiday.

And, as always, bake on with your bad selves!

Or foxy selves, as it were.
Love,

JackieLantern  

Thursday, October 15, 2015

I like bragging about my friends ...

In between my encounters with baking (oho, see what I did there?), I thought I'd take a moment to brag about some of my wonderfully, creative friends.

No, not those Friends.
I've been meaning to do this for awhile and finally organized myself enough to get it done! (Yeah, yeah, I know. Don't judge me). The first three mentioned below, I've known since college. They're become some of my best friends in the whole world and college would've been way duller if I hadn't of known them.

(Which it was for the first few years. I studied all the time and had straight A's. My social calendar, however, was rather lack luster...but, I digress).

On with the bragging!

*Amanda G.* - Not only is Amanda a great writer, she is also quite the fashionista, so she's combined her two greatest loves into her very own blog, which you can check out here! She's in the beginning stages, so there aren't too many posts to catch up on yet, but what she's posted so far is wonderful! It really embodies her sense of style and her personality shines through in her writing. And even if you're not into fashion, don't let that stop you from reading. I have a feeling she'll write about a wide array of subjects in the future. Once you're done reading her current blog posts, be sure to check out her Tumblr page. She's been writing daily Drabbles since the beginning of 2015, so that should keep you occupied! There are a few stories that I've become invested in over on that page ...so be careful. She'll try to steal your heart.

Aww, look at how cute we are.
*Bobbi K.* - This wonderful, recent Master's program graduate* has started her own blog, not only to document her own journey in life after grad school, but to also help and encourage others along the way.
(*Her official degree title is Master of Fine Arts in Theatre: Contemporary Performance. BOOM. Instant bad ass).
Called Geeky Girl's Guide to Living a Creative Life (or GGGTLAC for short), her vlog showcases helpful tips on how to embrace your geekiness and creativity while you're trying to figure out how to function as an adult in the real world. So far, she's highlighted how to fit your favorite geeky, fandom wear into your everyday wardrobe, how to ace that acting audition (ahem, look at her Master's degree), and how to connect with other people to build your own, supportive tribe. Take some time to watch her videos and you'll see just how helpful she can be! I bet you'll wanna be best friends with her too. (Psst, I made a cameo in one of her videos, so you'll have to watch to find out which one).

We need to go back and buy these one day.
*Sean S.* - He initially started his YouTube channel, which you can check out here, to help encourage his girlfriend (*coughAmandacough*) start pursuing her own creative outlets and, in the process, ended up finding something that I, in my humble opinion, think really suits him! He's a natural in front of the camera and he has such an engaging, sincere presence... even when he is goofing off. Sean is such a hard worker and it really shows in his videos. His videos thus far range from congratulating his sister on her recent college graduation to a Blind Baking Challenge.
(Where he, another friend, and I consumed something that still haunts my taste buds to this day).
I really miss having his creative energy around and hope I get to make another baking video with him soon.
...
That's a challenge, Sean. Get your butt back to Montana as soon as possible. K, thx.

Most attractive picture ever, right? Right. That's what I thought.
*Quinn C.* - My little baby sister! Well, she's not really a baby anymore ... She turned 18 and graduated high school earlier this year ... and, and ... sniff, sniff ... I'm not crying, you are.  
... Anywho! She's got so much creative talent spewing out of her that it's not even funny. She's a beautiful violinist, an avid drawer, a nail art and makeup aficionado, and such a crafty gal.
(It's really not fair that an 18 year old has this much talent. Genes, man).
Now, Quinn doesn't currently have a YouTube channel or a blog, but she does have an Instagram, which you can check out here! (Or add her on your Instagram app - her username is quinny_harls). She posts pictures of everything that she works on, so give her a follow if you want to see some really cool stuff! My favorite right now is her frostbitten Elsa makeup. It's kinda gross, but kinda great. Make sense? No? Didn't think so.

We make pretty faces like this all the time.
*Grant B.* - I've known this fella for almost a year now and he's become one of my favorite people ever. (Whether he likes it or not). He's probably tired of me gushing over him (#sorrynotsorry), but he's such a passionate and creative person. I honestly don't know how he accomplishes everything that he does.
I'm pretty sure he's secretly a superhero ... it's the only logical explanation.
(Psst, Grant, what's your superhero name)?
Mr. Baciocco is a puppeteer, writer, musician, comedian, producer, pod-caster ... the list goes on and on! So, you should probably check out his website here to read about everything he's accomplished already and to find out what he's currently working on. Or you could always go ahead and check out his production company's page (Saturday Morning Media) to learn more about it and to watch some of the videos that they've made. Or! You could check out his blog.
*takes a breath*
I feel like I'm only scraping the surface of his repertoire, but hopefully that means you'll really want to check out him out!
(Side note: He has a Patreon page too. If you feel so inclined, you can help fund the content that Saturday Morning Media creates)!

We have great cheekbones, yes?
And there you have it! Didn't I tell you all of these people are ridiculously creative? I mean, really, I'm such a lucky girl to be able to call all of them my friends! (Well, Quinn's my sister, but I'll still count her as my friend). =P

And I hope to collaborate with all of them, either again or for the first time, in the future!

...wink, wink ... nudge, nudge ...

...

Guys, don't leave me hanging.

...

Please leave any questions or comments down below! And let me know what you think about my friends! Or, if you know of anyone that YOU think I should check out, leave a link to their page below!

And, as always, bake on with your bad selves!

- Jackie

PS,
I realize there's a lack of gif use in this post. I didn't want to distract from my friends this time around, so you'll just have to wait for my next post!

Patience is a virtue, isn't it? ... That's what they tell me anyway. Not sure if I believe them, either. =P

Friday, September 18, 2015

S'more s'mores, please!

Call it lazy...

This time around, anyway.
call it thrifty...
Who knew thrifting could be so fabulous?
call it creative...
Don't worry. I'm confused too, Ron.
Frankly, call it whatever you want... I call it a good end to summer with, you guessed it, another s'mores creation! This time it's in pie form. I went the easy route and made a pie crust out of leftover graham cracker crumbs (because, oh my word, I had so many left over from the scone adventure), but it's still a pie none the less!

Or I could get Ned to make me a pie. Yes, that.
[Side note: I've yet to make a traditional pie with, ya know, a delicious, flaky pie crust and sweet, fruity filling, but it's on my list. And I'll hopefully have one made before Thanksgiving, so keep an eye out].

Anyway, I couldn't pass up the opportunity to make another chocolate and marshmallow creation. It's just such a good combination.

I can't even, guys. I can't even.

...

Ahem.

...

I mean, s'mores are so delicious that they deserved a second post, right?

Right. Glad we're on the same page.

Thinking 'bout them s'mores (aka Gratuitous Selfie)
Besides, summer is coming to an end. It needs a proper send off and what are s'mores if not proper?

So, here's one last ode to bonfires, to long summer days and warm summer nights, to memories made with family and friends, to recapturing our childhoods, if only for a fleeting moment.

Let's welcome fall with open arms after savoring one last bite of summer.

Goodbye, summer sun!
Leaves are already falling around here.
I'll miss you summer tea time!
But I'm ready for cozying up for fall.
(I know, that's a lot for a pie to live up to, but I think it does a pretty good job. Give it a try and find out for yourself).

S'mores Fudge Pie Recipe

Graham Cracker Crust:
2 cups graham cracker crumbs
1/4 cup sugar
6 tbsp melted butter

1) Preheat oven to 375 degrees.

2) Coat pie tin with cooking spray or shortening. I used shortening this time around. It was left over from the scones.

I should be a hand model.
3) In a bowl, combine the crumbs, sugar, and butter.

It says hi, I promise.
4) Press the crust mixture into the pie tin.

Spoiler alert. This was after I baked it.
5) Bake the crust for roughly 7 minutes, or until slightly browned.

6) Let the crust cool while you're making the pie filling.

S'mores Fudge Pie Filling:
1/4 cup flour
1/2 cup sugar
2/3 cup cocoa powder
1/4 tsp salt
6 to 8 oz semi-sweet chocolate (up to your tastes, really)
1 cup half and half
1/4 cup butter
1 jar (7 oz) marshmallow fluff
2 eggs
2 egg yolks

1) In a bowl, whisk together flour, sugar, cocoa powder, and salt.

Welcome to Cocoa Mountain.
2) In a sauce pan over medium heat, mix together half and half, butter, chocolate, and half of the marshmallow fluff. Stir until the mixture is smooth.

I probably would've just eaten this, to be honest. 
       Note: You'll want to let the mixture cool before step 3. You don't want scrambled eggs in your pie. Unless you do. I'm not here to judge.

3) Add the eggs, egg yolks, and dry ingredients to the chocolate sauce. Stir together until well combined.

They looked alien-like. Felt the need to share.
4) Transfer the filling into the pie crust.

Ooh, shiny.
5) Bake at 375 degrees for 45 to 50 minutes. The pie is done when the center is set and the edges start to crack.

6) Let the pie cool for 20 to 30 minutes.

Now, this is where I took the pie to super s'mores land.

7) Heat up the rest of the marshmallow fluff in the microwave (roughly 30 to 40 seconds, just keep an eye on it).

8) Spread the fluff over the top of the pie.

9) Add mini marshmallows on top of that if you so desire! I did. Because marshmallows.

10) Put the pie under the broiler until the marshmallows brown slightly.

Personally, I'd leave this under the broiler longer,
for some nice burnt marshmallows,
but not everyone likes that.
11) Let it cool for a few minutes after that and serve!

It's super delicious and super chocolately. If you're not careful, the amount of chocolate in this pie could probably kill.

Kidding.

Maybe?

[Side note: I let part of the pie sit around, covered, for a couple of days. The flavors really melded together and the pie was even more delicious! I mean, you can't lose either way, but if you have the time and the patience, let it sit. Let the flavors have a chance to really dance together. It's worth it, I promise].

Mmm. Pie. Yum.
So, if you're looking for something to help wind down summer and welcome fall, give this fudge pie a try.

Shia commandeth so.
Thanks, as always, for reading! Please leave any suggestions or comments down below.

Bake on with your bad selves!

- Jackie

Thursday, August 27, 2015

S'mores for Days

Hello, lovely readers!

I didn't mean to neglect my blog for so long!

Work hours have gotten longer.

I moved into my own apartment.


I got a kitten! (His name is Philip - he's kind of adorable when he's not being a demon).


And I could list a whole plethora of other excuses, but they would be just that. EXCUSES. And I need to stop using them as a reason to avoid blogging. Now, I make no promises for super frequent posting, but I'll try to be better about it. And I, hopefully, won't have to make another post like this for a long, long time.

(I've missed an entire summer's worth of baking and I'm highly disappointed in myself).


Anyway! Back to blogging - Summer makes me think of family, friends, camping (which I haven't done either), cooking over an open fire, and, above all things, S'MORES. (My priorities are great, huh)? I have an unnatural (maybe even unhealthy) obsession with s'mores. And anything s'mores flavored, really. I eat them far too often in their traditional form and I always have to try any s'mores related treat that I come across. My favorites so far have been s'mores bread pudding at Walker's (Click here to check them out) and Campfire Mochas at City Brew (And check them out too)!

I mean, I just love marshmallows in general. Even though they're pretty gross when you actually sit down and think about what they really are. Trust me, don't do it. At the end of the day, though, I think they're delicious. Both in solid(ish) AND liquid form. Give me the choice of a hot fudge sundae or a marshmallow sundae ... I'll probably choose marshmallow. With chocolate ice cream. And graham cracker crumbs ...

HEY, LOOK. S'mores, again.

See, I told you I have a problem.

Side note: I've even seriously thought about having s'mores supplies on hand at all times. In my house, anyway. That'd get way too messy in my car.

Leslie Knope is my hero.
So, for this particular baking adventure, I took my love of s'mores and tried to think of a way to turn it into a delicious pastry. I ended up going down the path of the scone! Now, I know that not everyone likes scones. Or, at least, most people aren't super big fans of them because they're typically on the drier side of the pastry world, and these are no exception, buuuuuut ... whatever, whatever, I do what I want! (With love, of course. Always with love). Besides, I always thought that was part of the appeal of a scone.

Scones? Why, yes, please! I do believe it's time to make some tea to go with it!


Or I'll grab some nice cold milk!


It all comes down to the season, really. Or, if you're anything like me, you drink whatever you want, whenever you want. It's almost 100 degrees outside? No big deal - I'll have a hot caramel macchiato, please.


Anywho, this wasn't my first s'mores project. A few years ago, I made s'mores cupcakes, complete with torched mini-marshmallows on top. (I'd love to try to make a better version of that recipe sometime soon, actually). And, just a few months ago, I made s'mores fudge ... at around 11 o'clock at night. I'm pretty sure my roommates thought I went off the deep end ... or sank even deeper. It was worth it, though! It was so good!

(And now I'm wondering if I remembered to save the recipe. Ruh roh, Raggy...)


Now, on with the baking!

S'mores Scones Recipe:
1 3/4 cup flour
1 1/4 cup graham cracker crumbs
4 tsp baking powder
1/3 cup sugar
3/4 tsp salt
4 tbsp butter
2 tbsp shortening
2 large eggs, beaten
3/4 cup half and half
Chocolate chunks
Mini-marshmallows

Directions:

1) Preheat oven to 375 degrees.

2) Combine flour, graham cracker crumbs, baking powder, salt, and sugar in a large bowl and mix well.

This counts as art work, right?
       - Side note 1: You can either buy pre-made crumbs or crush your own. I went the easy route and bought the pre-made ones.
       - Side note 2: You can sift all of your ingredients into your mixing bowl if you feel so inclined. I was feeling fancy when I made these, so I went ahead and used a sifter. It's pretty fun.

Sift it. Sift it good!
3) Cut in COLD butter and shortening. (Meaning, cut your butter and shortening into small pieces and add them to the flour mixture. Lightly coat the pieces first and then start breaking the pieces up. I use my hands for this process. Other people like to use a pastry blender or knives). Your mixture will get nice and crumby!

I forgot to get a picture of what it looks like AFTER you cut in the butter.
Oops.
4) In a separate bowl, combine the cream and eggs.

Itty bitty fork for an itty bitty job.
5) Add the cream mixture to the dry ingredients and combine until a dough is formed.
        - Side note: If the dough is too wet, add more flour.

6) Add chocolate chunks and mini-marshmallows. Mix until just combined.
        - Side note: I didn't put measurements for these. I say add as little or as much as you so desire! It all comes down to personal taste, after all! :-)

7) On a floured surface, roll out the dough to your desired thickness. (I rolled mine out to about 3/4 of an inch).

Needs more chunks.
8) Cut out biscuit sized rounds.

I didn't use parchment paper. Learn from my mistakes.
9) Cover a baking sheet with parchment paper. (Trust me, you'll want it to catch any marshmallow goo that leaks out of the scones)! Place your scones an inch or so apart from one another.

10) Bake the scones for 15 minutes.

11) Take the scones out of the oven and let them sit for a few minutes on the baking sheet before transferring them to a wire rack to cool completely.

12) OR! Go ahead and eat them while they're nice and warm! The marshmallows and chocolate will be nice and gooey!

Look at it's cute lil dimple! Omnomnom.
And there you have it! Simple, delicious scones! The next time I make them, I'm going to put even more chocolate and marshmallows. Or I may even cut them in half before I serve them and put a layer of marshmallow fluff on the inside to really ramp up the s'mores factor.

Mmmmm. That sounds so good ...

Give these scones a try, if you so desire! Or let me know what other s'mores treats you've made in the past or would like to see me make in the future!

As always, thank you for reading!! Please leave any comments or concerns below.

AND

Bake on with your bad selves!

Love,
Jackie

Friday, August 21, 2015

I'll Be Back

I promise I haven't forgotten about my blog! And about you guys!!

Life got in the way.

And lack of a proper working oven perpetuated my absence.

I love you all and I promise I'll be back very soon!


Bake on with your bad selves,

Jackie